
Minimoogs, like several other vintage synths, have keyboards made by a company called Pratt-Read. Apparently P-R stopped making synth keyboards many years ago, and now they make screwdrivers. I can't really find any info about P-R keyboards, their history in the keyboard-making business, or what made them give it all up for screwdrivers. Perhaps we'll never know. I'm waiting for the shocking tell-all novel, or at least a Wikipedia entry.
The bushings are the small rubber bits that fit snugly inside the individual keys, and as far as I can tell, their purpose is to give the keyboard a nice soft (almost squishy) action. Since these keyboards are so old now (mine's 34 years old), the rubber bushings become hard, and they sometimes even disintegrate. With old bushings, keys become uneven, and they have a harder action. Sometimes they click.
Installing the new bushings is a pretty simple job. If you get your replacement bushings from Archive Sound, they have instructions on their web site. I'll try not to be redundant here.
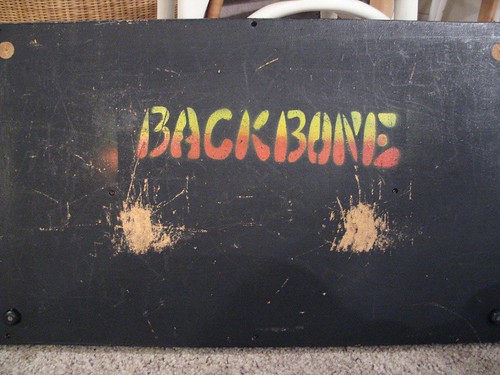 Removing the keyboard from the Minimoog is fairly simple. On the bottom of the synth are a bunch of wood screws keeping the bottom panel in place. The bottom of my synth has a little something extra, as you can see in the picture (Backbone lives!).
Once you remove the bottom panel you can see the keyboard assembly much clearer, and the screws holding it in place. The keyboard is connected via a cinch connector, which needs to be disconnected. MAKE SURE you mark the connector so that you can put it back together the right way. The keyboard is screwed into the case through some wooden shims that keep it at the right height. There are four of these shims (although I understand that some later versions don't have them). If the shims aren't glued in place, make sure you know which one goes where, as they are different heights. After the keyboard is unplugged and unscrewed it should just come out.
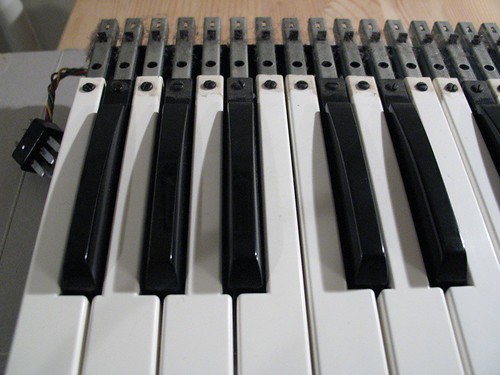 Since the bushing replacement required the removal of the plastic key covers I took that opportunity to clean them. The whole keyboard assembly was really gross, actually, so I gave it a thorough dusting and I washed the keys in soapy water. Super-duster spray and Q-tips took care of the rest.
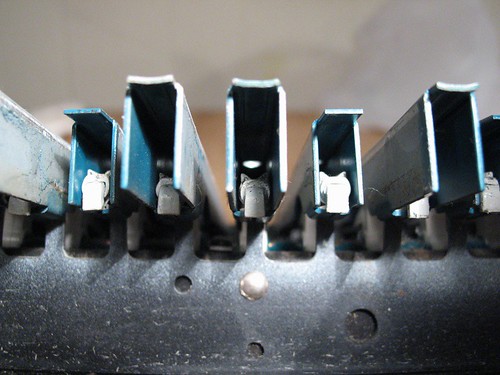 The bushings are the white bits with pointy ears visible inside the keys in the above picture. They are kind of awkwardly placed, so you need a tool well-suited to remove them. I found that a flat-head precision screwdriver (the kind used in computer repair) worked perfectly. You just need to jam the screwdriver under the bushing, work it a little bit, and pull it off. Some bushings don't come out in one piece, so the screwdriver also comes in handy for scraping remnants off of the key.
Once the old bushings are off, just pop the new ones on and you're set. Make sure you get the bushing right-side up. The bottom and the top look similar but they're not the same.
The keys on the synth feel a lot nicer now. The Pratt-Read bushing kit is a good buy if you want to bring some life back in to your old synth keyboard.
No comments:
Post a Comment